Let’s face it; America has a lot of stuff. We have so much stuff that not only can we not fit it all in our full sized houses, but we even have extra storage spaces offsite that we pay monthly to keep around. This is precisely the reason why tiny living is so appealing.
Over time we typically bring in more than we get rid of. This means that as we get older, we start to accumulate more and more stuff. When I moved out of my parent home, I fit all of my belongings in my car. Then when I moved out of my apartment several years later, I required a truck to fit my stuff. Now that I am older and have a family, I dread to think of the vehicle it would take to move me today.

While not all belongings are bad, a lot of the time what we own can be considered clutter. Clutter is stuff we own that we really don’t use any more. We just have it ‘just in case’, but then have to move and maintain it.
Clutter can cause a variety of problems, both physically and mentally. Physically, too much clutter can make it difficult to navigate and move around a space, increase the risk of accidents and injuries, and make it harder to clean and maintain a clean-living environment. Mentally, clutter can cause feelings of stress and anxiety, negatively impact focus and productivity, and make it difficult to relax and feel at ease in a space.
One way to minimize clutter is to digitize some of your belongings. Specifically your music collection, your photos, and documents. By digitizing these items, you still get to keep them, but they no longer take up any physical space in your life.
There are several ways to go digital to declutter and organize your life! That’s why we decided to break it down…
Music
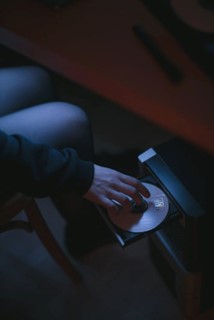
Physical CD’s can take up a lot of space, and they aren’t as convenient as streaming your music. For this reason, CD sales are in a major decline. Transitioning to digital music can be done in several ways:
- Streaming music services: Sign up for a streaming music service like Spotify, Apple Music, or Tidal. These services allow you to access millions of songs for a monthly fee, and you can listen to them on your computer, phone, or other devices. No more moving physical media and only listening to a specific artist at a time.
- Digital downloads: Purchase and download digital music files from online retailers such as iTunes or Amazon Music. These can be played on your computer, phone, or other devices that support the file format. This was the way to go back when iPods were popular, but this approach is still good if you don’t want to pay a monthly fee, and/or listen to a smaller range of artists/songs.
- Ripping CDs: If you have a collection of CDs, you can use a computer program to "rip" or copy the music onto your computer as digital files. These files can then be added to your music library and played on your computer, phone, or other devices.
- Convert vinyl records to digital: You can use a turntable with a built-in USB output to convert vinyl records to digital files. But vinyl is making a strong comeback, so don’t’ throw away those records as they may be worth something.
- Use a music locker service: Music locker services such as Google Play Music and Amazon Music allow you to upload your own digital music collection to the cloud and access it from any device.

Once you have your digital music, you can organize it using music library software such as iTunes, Windows Media Player, or another program. This will make it easy to find and play your music.
It's important to keep in mind that not all music is available on all streaming services, and not all music that you own in physical form can be legally converted to digital form. Always check the copyright laws before proceeding with any conversion.
Photos
Here are some steps to help you digitize your photos:

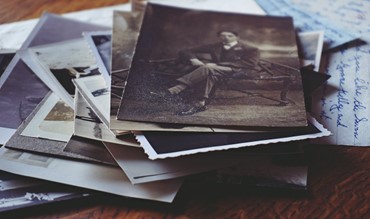
- Gather all your physical photos together in one place. This can include prints, negatives, slides, and photo albums.
- Sort through your photos and decide which ones you want to digitize. Discard any that are damaged, blurred or have no sentimental value to you.
- Scan your photos using a flatbed scanner or a specialized film scanner if you have negatives or slides. If you don't have a scanner, there are also services that you can use to digitize your photos professionally.
- Adjust the settings on your scanner or the service's settings to ensure that the final digital images are of high quality. This includes setting the resolution, color balance, and cropping as needed.
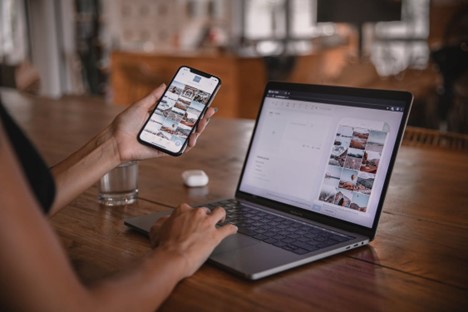
- Save the digital images in a format such as JPEG. It's also a good idea to back up your digital images to a cloud storage service like Google Drive or Dropbox.
- Organize your digital photos using folders, labels, or tags. This will make it easy to find and access your photos. If you use a cloud based service mentioned in ‘8’, some of this organization will be done for you automatically.
- Edit your photos if needed, by using image editing software like Adobe Photoshop or Lightroom, or online tools like Canva, Pixlr, or PicMonkey.
- Share your photos with family and friends using cloud-based sharing services like Google Photos or iCloud. These services also integrate with other devices tike TV’s and smart Hub’s, allowing you and your family to view your pictures much more often.
- Once the photos are digitized, you can consider getting rid of the physical copies, which will free up space in your home.

While digitizing photos is a time-consuming process, it's worth it for the preservation and sharing of your memories.
Books and Literature
Here are some steps to help you change any literature to digital:
- Identify the types of books that you would like to digitize. This can include fiction, non-fiction, textbooks, cookbooks, etc.
- Research and choose the appropriate digital tools for reading books. Popular options include Kindle, Nook, and Kobo e-readers, as well as reading apps such as Kindle, iBooks, and Google Play Books.
- Purchase or borrow digital books from online retailers such as Amazon, Apple, and Google. Many libraries also offer digital books through their websites, so check to see if your local library offers this service.
- Scan your physical books if you would like to keep a copy of them digitally but no longer need the physical copy. You can use a flatbed scanner or a specialized book scanner to digitize your books. Although this can be very time consuming.
- Organize your digital books using folders, labels, or tags in your reading app or e-reader. This will make it easy to find and access your books.
- Once you've finished reading a digital book, you can return it if it's borrowed or delete it if you no longer need it. This can help you keep your digital library organized and decluttered.

Instruction Manuals
This is something that I started way before going tiny. There are so many manuals, warranties, and receipts that you need to keep for everything from washing machines to coffee pots. Scan all of your warranties and receipts and search out PDF documents of your instruction manuals. Of, just search the internet for the product name and model number and the word “manual”, and there is most likely a digital copy already out there that you can download. Then take that entire drawer full of books and recycle them.
Other
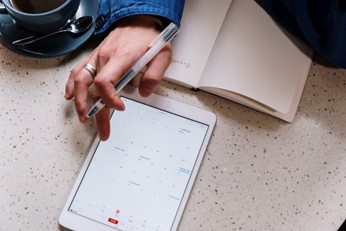
- Digital calendars and to-do lists: Use apps like Google Calendar or Todoist to create and manage your schedule and to-do lists. This will help you stay on top of tasks and appointments and reduce the need for physical planners and sticky notes.
- Digital communication: Use digital communication tools like email, instant messaging, and video conferencing to reduce the need for paper mail and in-person meetings.
- Digital payment: Switching to digital payments such as online banking, mobile payments, and e-wallets can help you keep track of your finances and reduce the need for physical cash and credit cards.

Overall, it's important to note that going digital also comes with certain risks such as data breaches, cyber-attacks, and data loss which can be mitigated by using strong passwords, two-factor authentication, and regularly backing up your data.